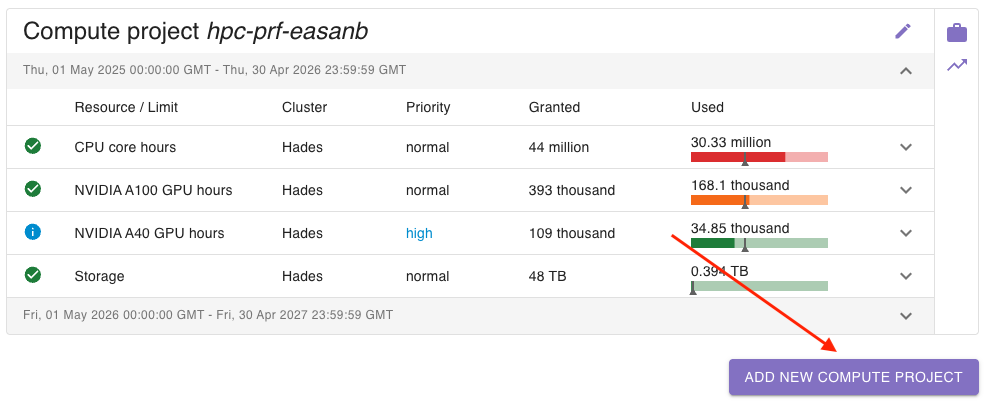
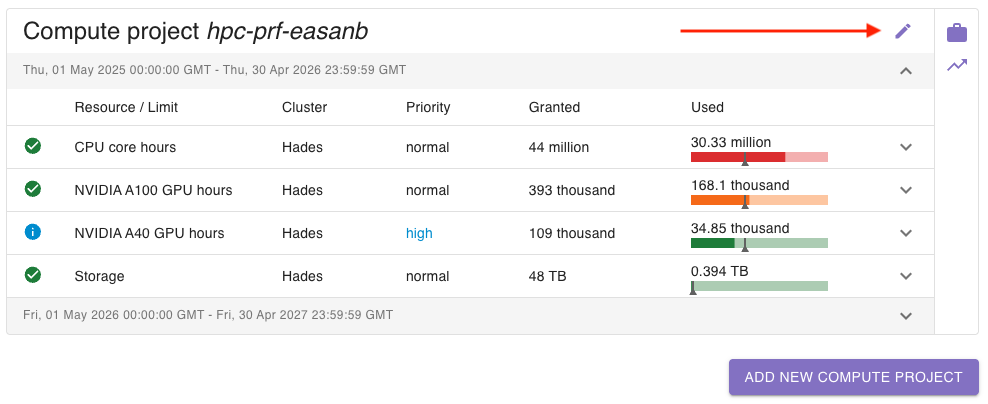
To create a new compute project, go to the project’s detail view and click on add new compute project:
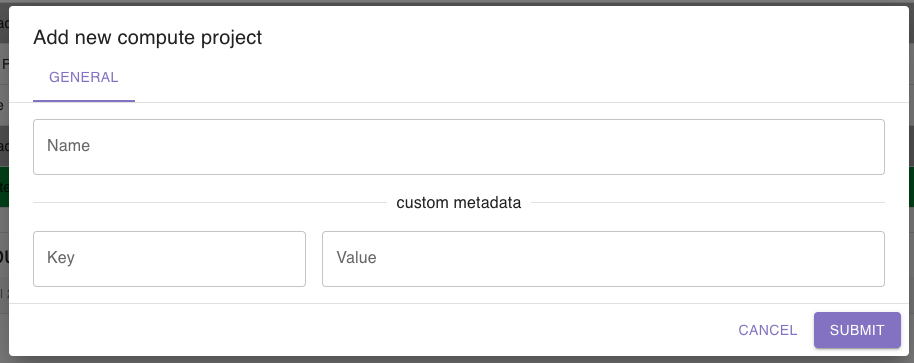
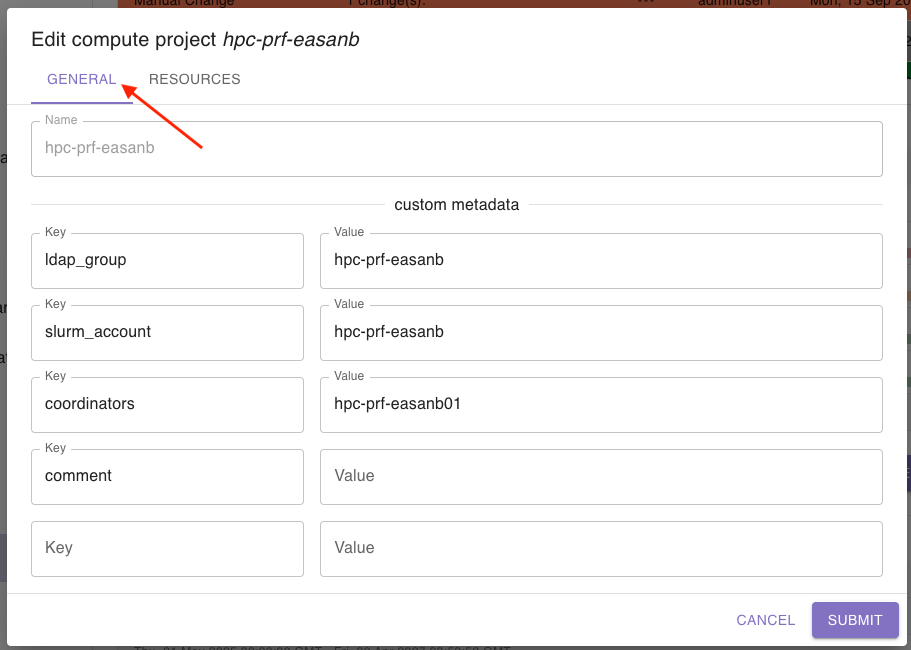
A dialog will open where you can set a name for the compute project.
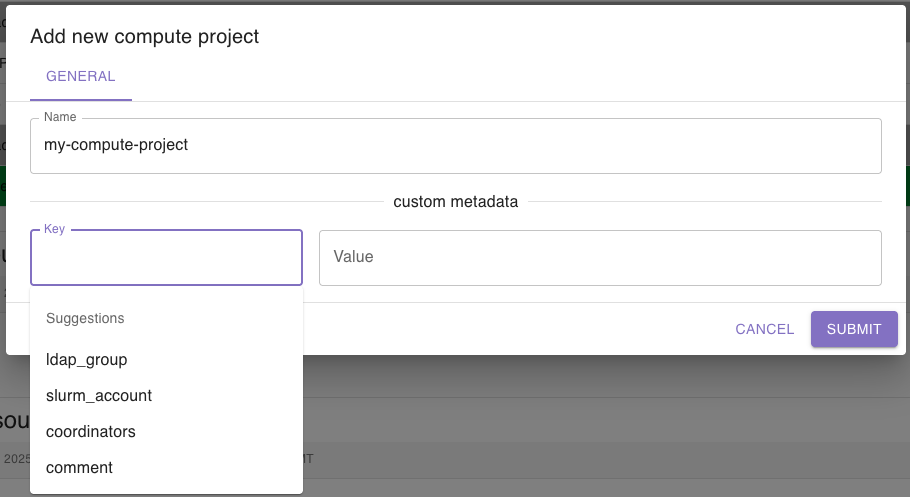
Additionally, you can add custom metadata as key value pairs which will be saved to the compute project. You will
receive suggestions for the keys based on other compute projects’ keys:
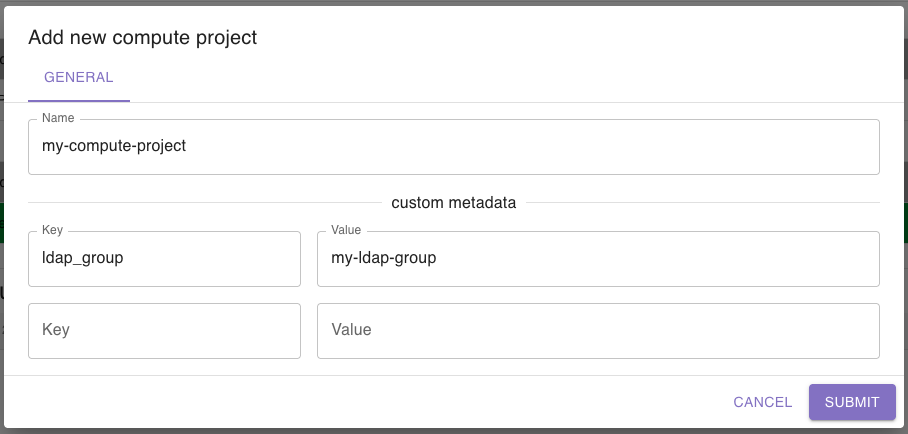
When you add a key, another row for a new key value pair will appear so that you can enter as many as you want:
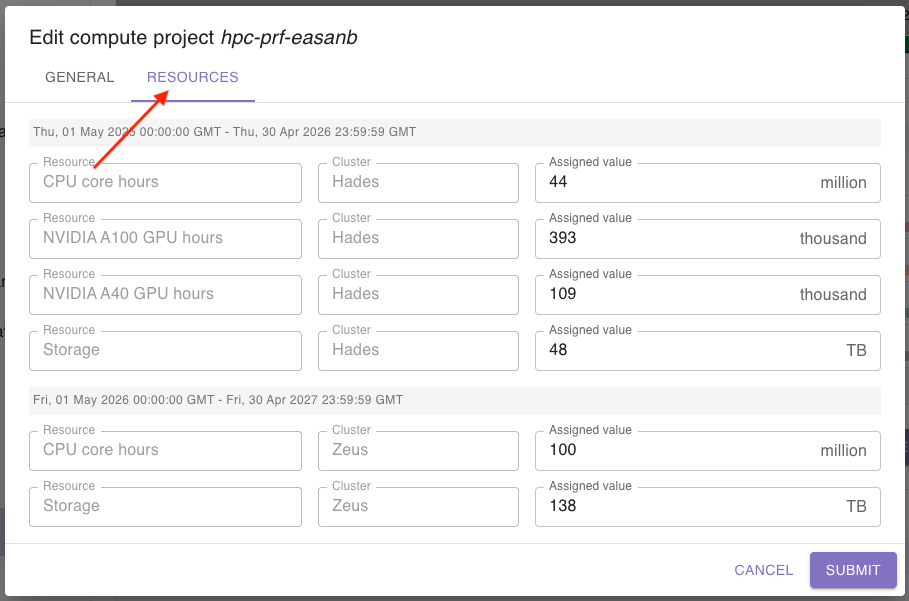
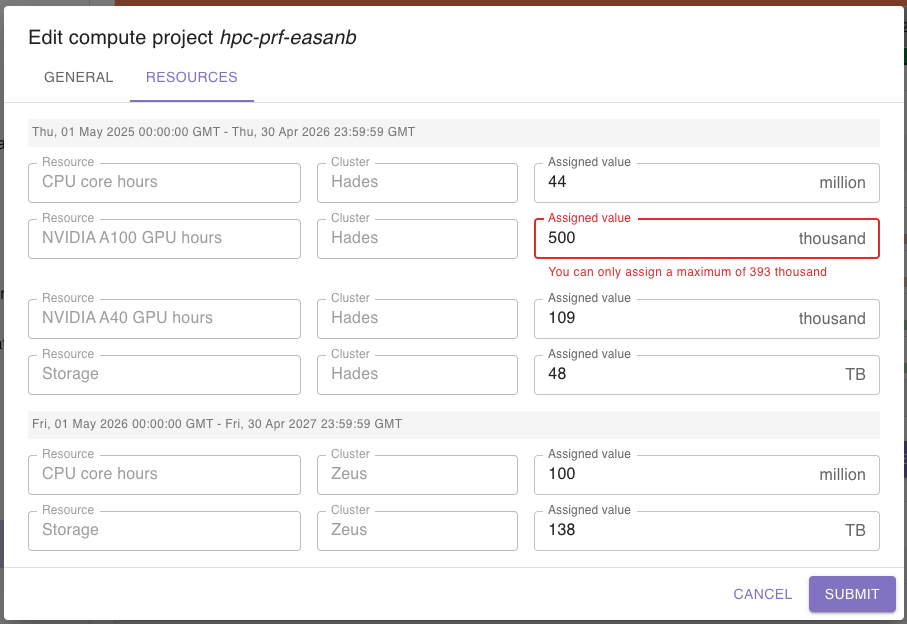
Save the compute project by clicking the submit button. After that, you can edit the compute project to add resources.
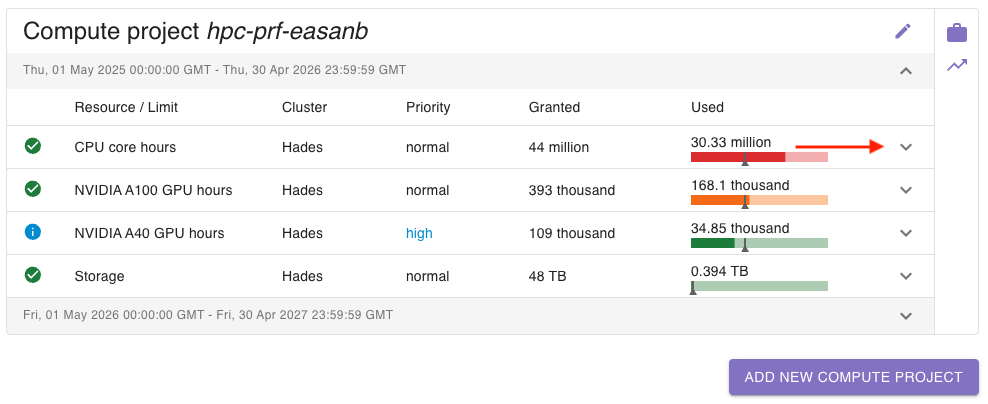
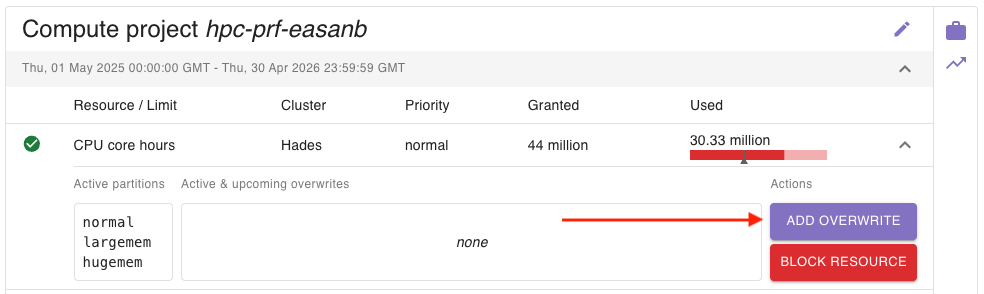
To block a resource (e.g. to stop a compute project to be able to access this resource), click on the arrow on the right
side:
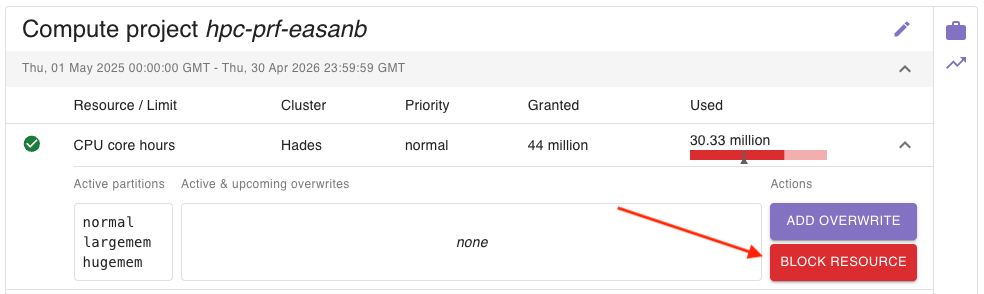
Here you can click on block resource to block it:
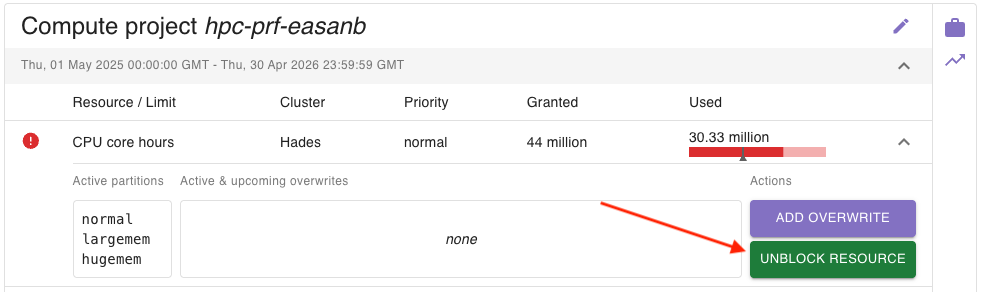
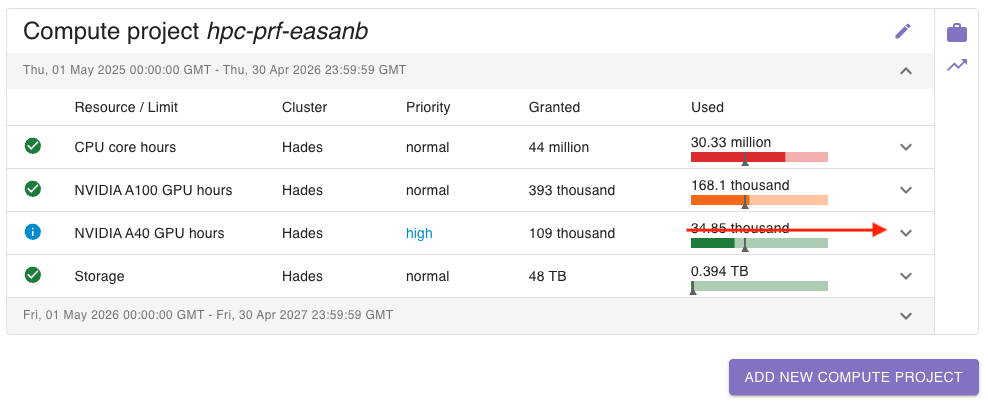
You will see that the icon on the left side will change, indicating that the resource has been blocked.
To unblock it, simply click on unblock resource:
Every compute project can have members who are allowed to work within the compute project.
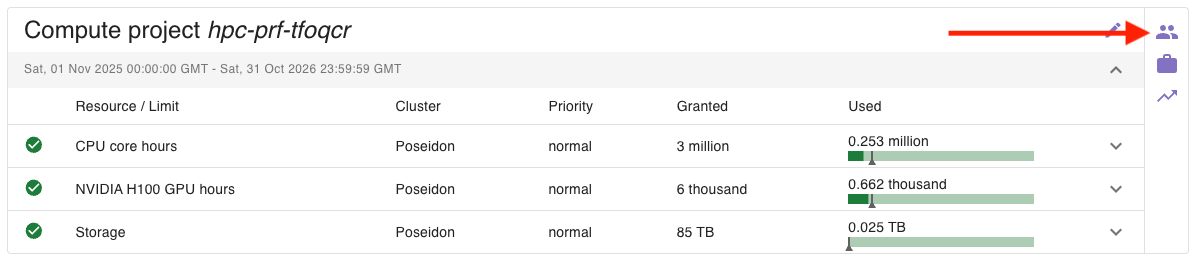
To view and edit the list, click on the group icon on the action bar of a compute project:
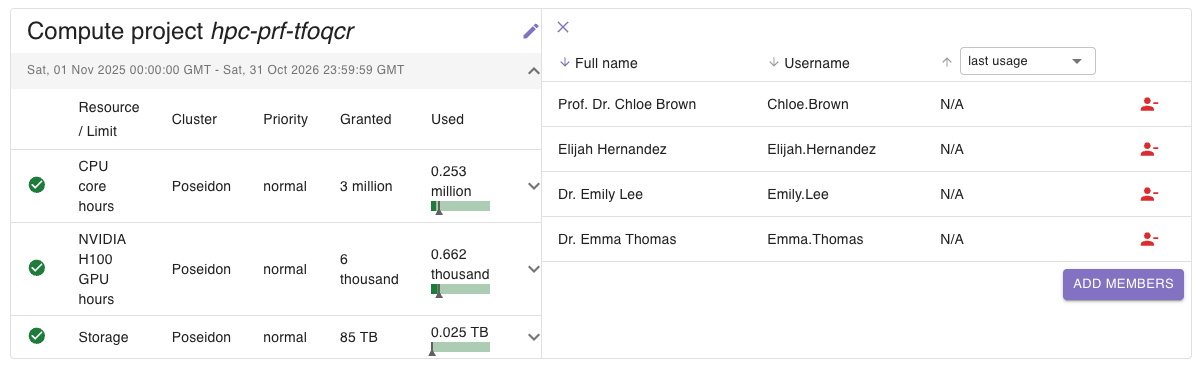
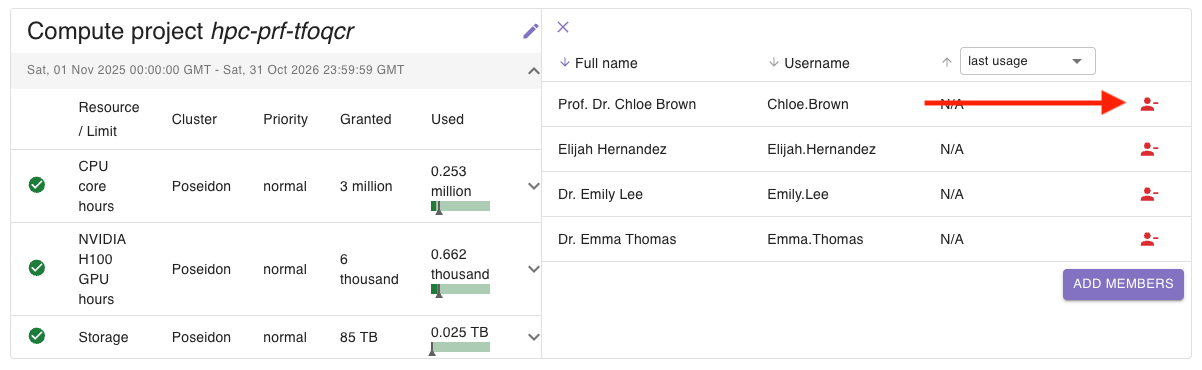
You will see a list of all members, including their full name as well as their usernames:
You can sort the view by using the arrows next to the column headers.
You can change the content of the last column to any of the resource usages available in this compute project.
This way, you can view who of the users used which amount of resources:
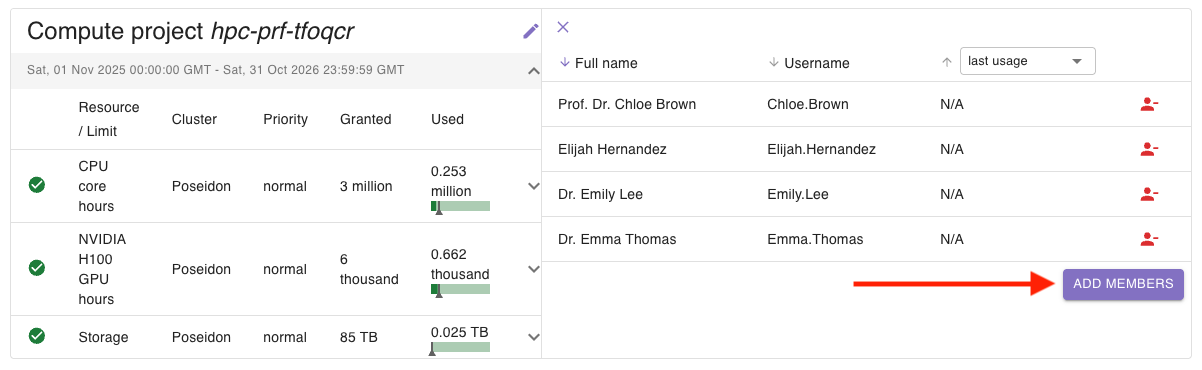
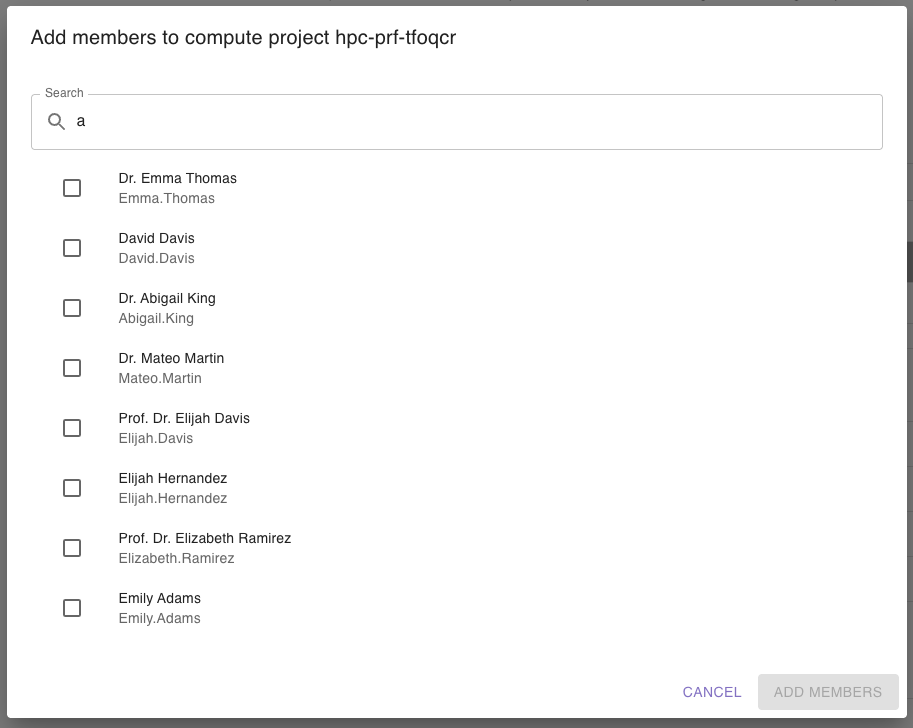
If you want to add new members to the compute project, click on add members:
A dialog will open where you can search for the users you want to add:
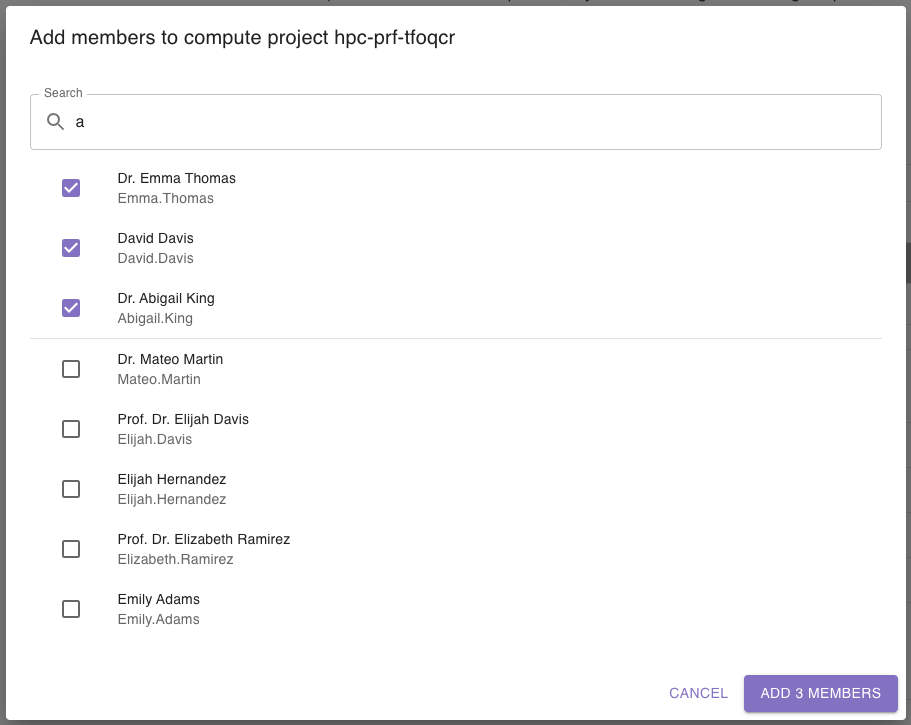
Use the checkbox on the left side to select all users you would like to add:
To finally add those users as members, click on add X members:
To remove a user from a compute project, click the red icon next to them in the members overview:
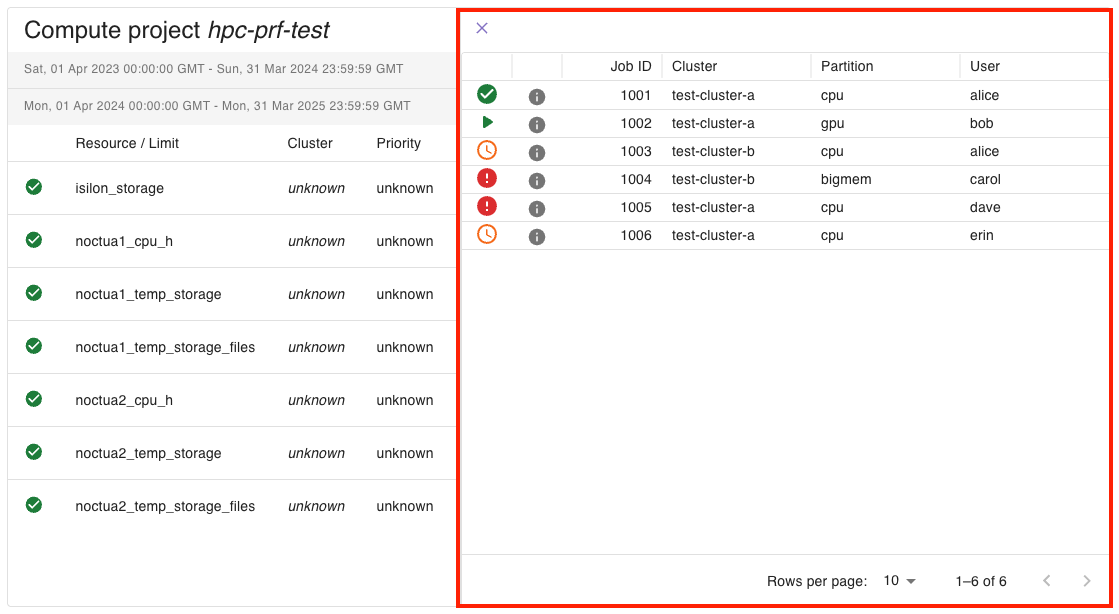
If you have connected PERSEUS to your cluster scheduler, such as SLURM, and cluster jobs are being imported into PERSEUS, you can view the jobs belonging to a compute project in the project view.
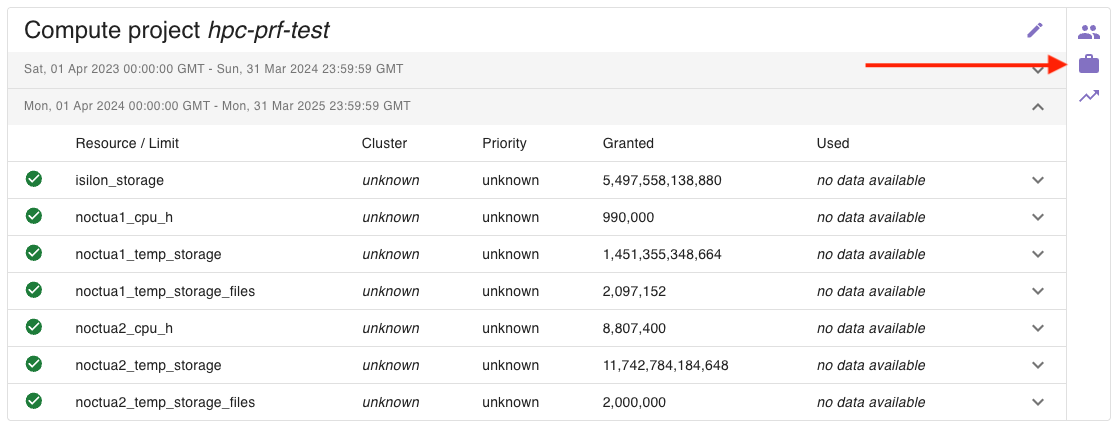
To access the job list, click on the suitcase icon on the action bar of a compute project:
You will see a list of all jobs of the compute project, including their job ID, the cluster the job ran on, the partition, and the user who created the job:
The icons in front of a row indicate the current status of the job.
The job list is paginated so that you can only see 10 or 25 jobs at once. You can navigate back and forth through the list.
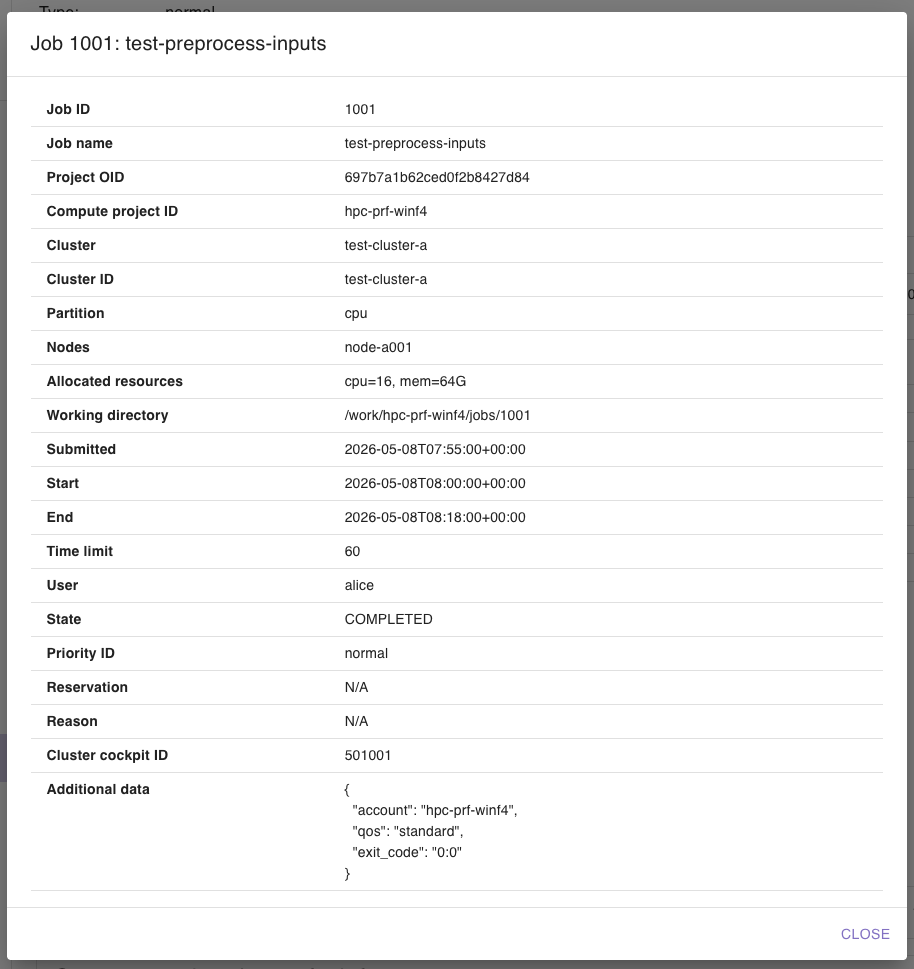
You can click on the “i” icon on each row to see details about the job:
The modal shows you all available data about a job you choose. You can close the modal via the “CLOSE” button in the lower right corner.