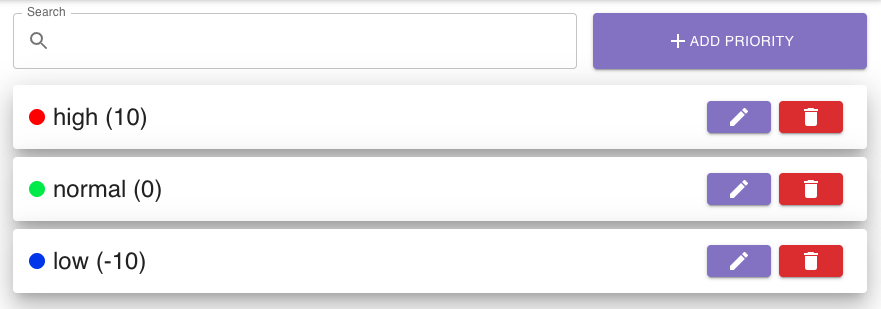
To add a new priority, simply click the add priority button.
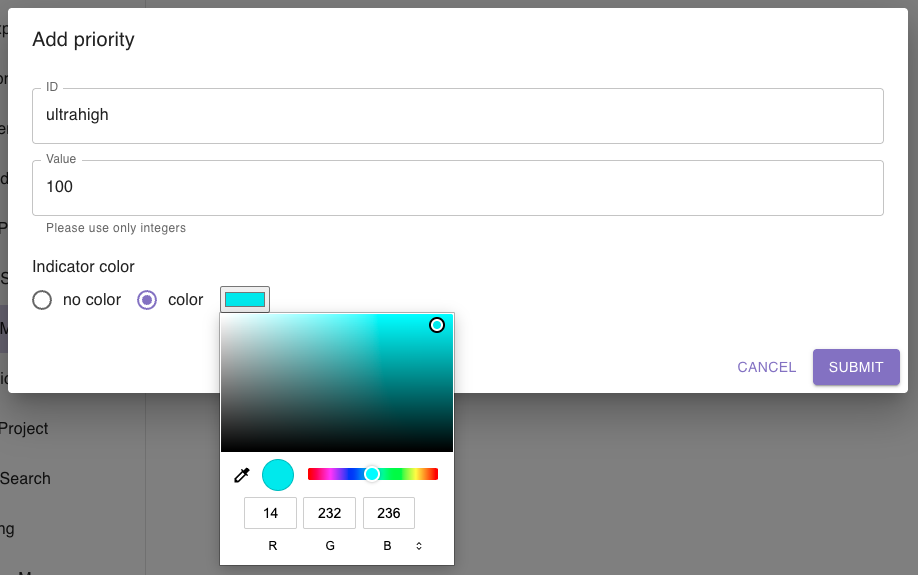
In the dialog, enter the required information:
The ID is the human-readable name of the priority (i.e. low, normal, high, …)
The value is the integer value of the priority. The value can be positive or negative. A higher number often means a higher priority. Keep in mind that each value should be unique.
The indicator color is optional. Select the no color option if the priority should not have one, or the color option to pick one using the color selector.
When you click the submit button, the new priority is created. If an indicator color was set, it is shown as a colored dot in front of the priority in the list.
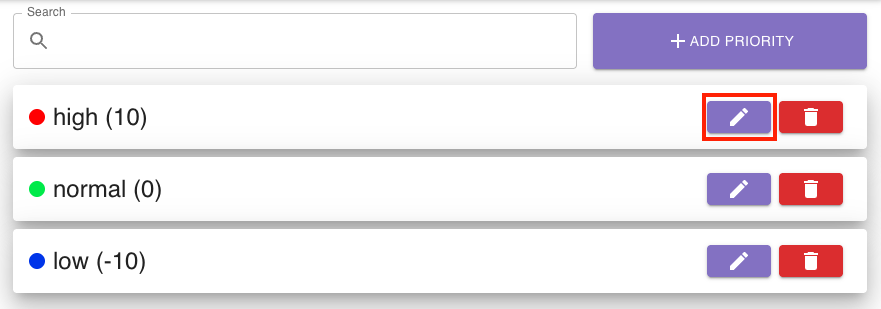
You can easily edit a priority by clicking the pencil icon to the right of the priority list entry:
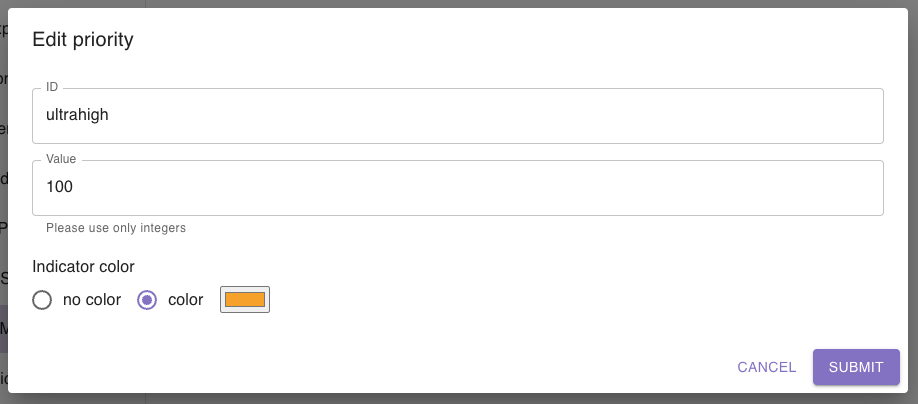
In the dialog, you can change all properties of a priority, including the indicator color. Keep in mind that a color value should be used for only one priority.
When you click the submit button, the changed properties are saved.
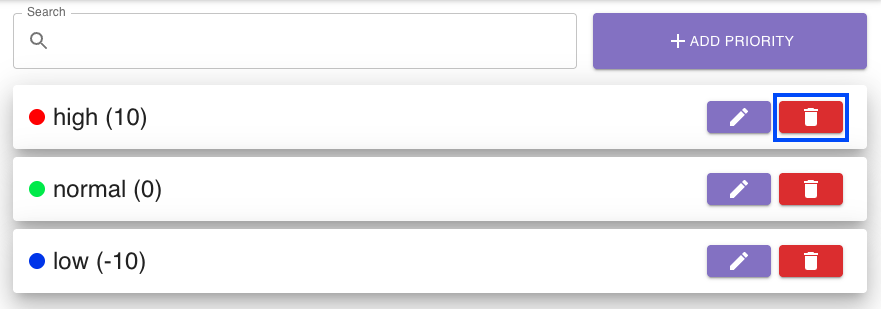
You can delete a priority by clicking the bin icon to the right of the priority list entry:
When you click the bin icon for a priority list entry, you will be asked if you really want to delete it.
You can cancel the deletion process or confirm it.