Restricted functionality
This functionality can only be accessed when having one of the following
roles:
- OWNER
- CLUSTER_ADMIN
- SUPPORT_L2
- SUPPORT_L3
- SCIENTIFIC_SUPPORT
Restricted functionality
The Workflow Registry is where you create and maintain workflows — reusable automations that projects can subscribe to. You can find it in the navigation under “Workflow Registry”.
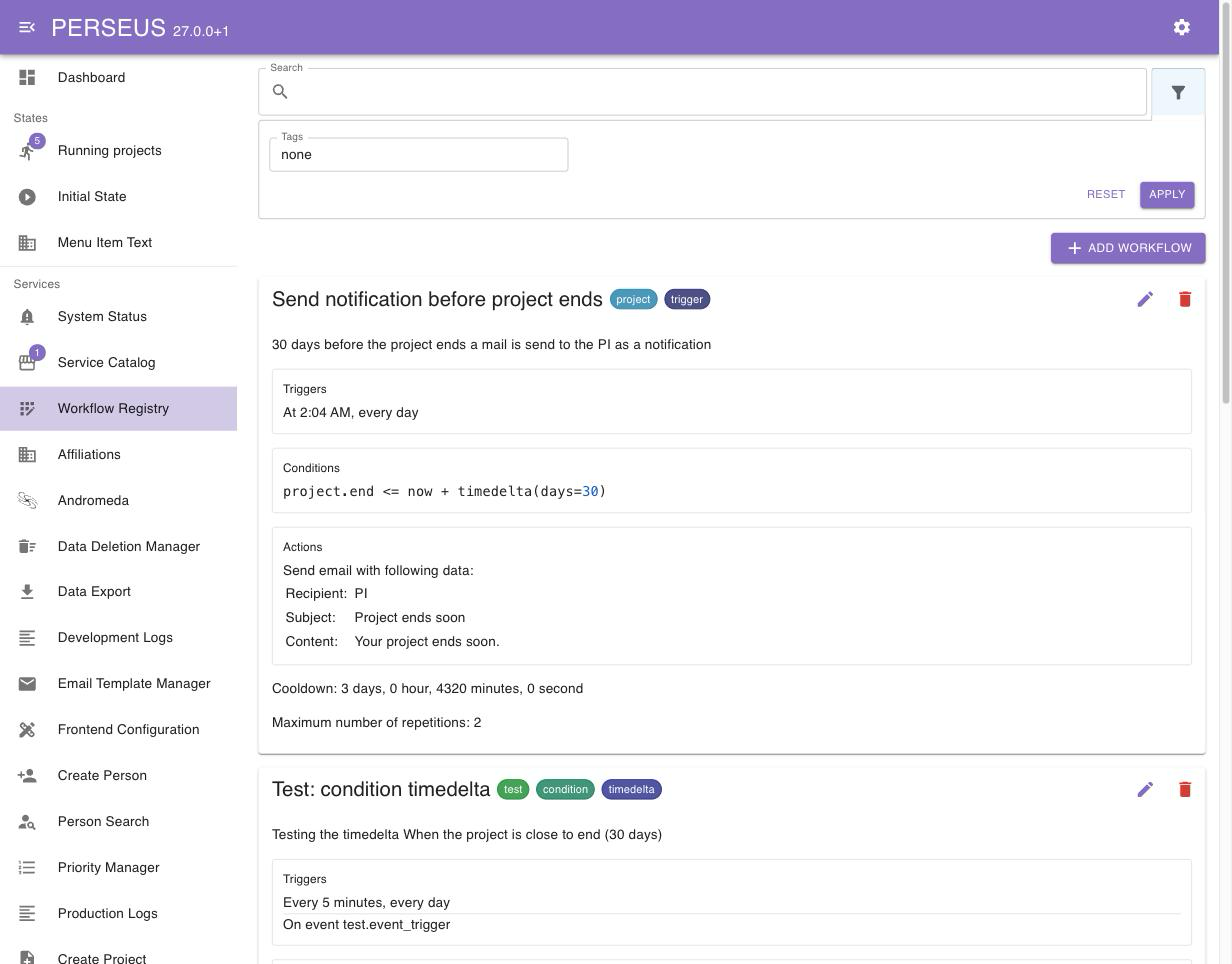
Use the search field to look up a workflow by its ID, name or description. Click the filter icon next to it to narrow the results down further by tag. Your search term and selected tags are reflected in the page URL, so you can bookmark or share a link that points directly to a specific workflow or filtered view.
Click Add workflow to open the workflow dialog. It contains the following fields:
1 shows a note that the workflow will only ever run
once per project.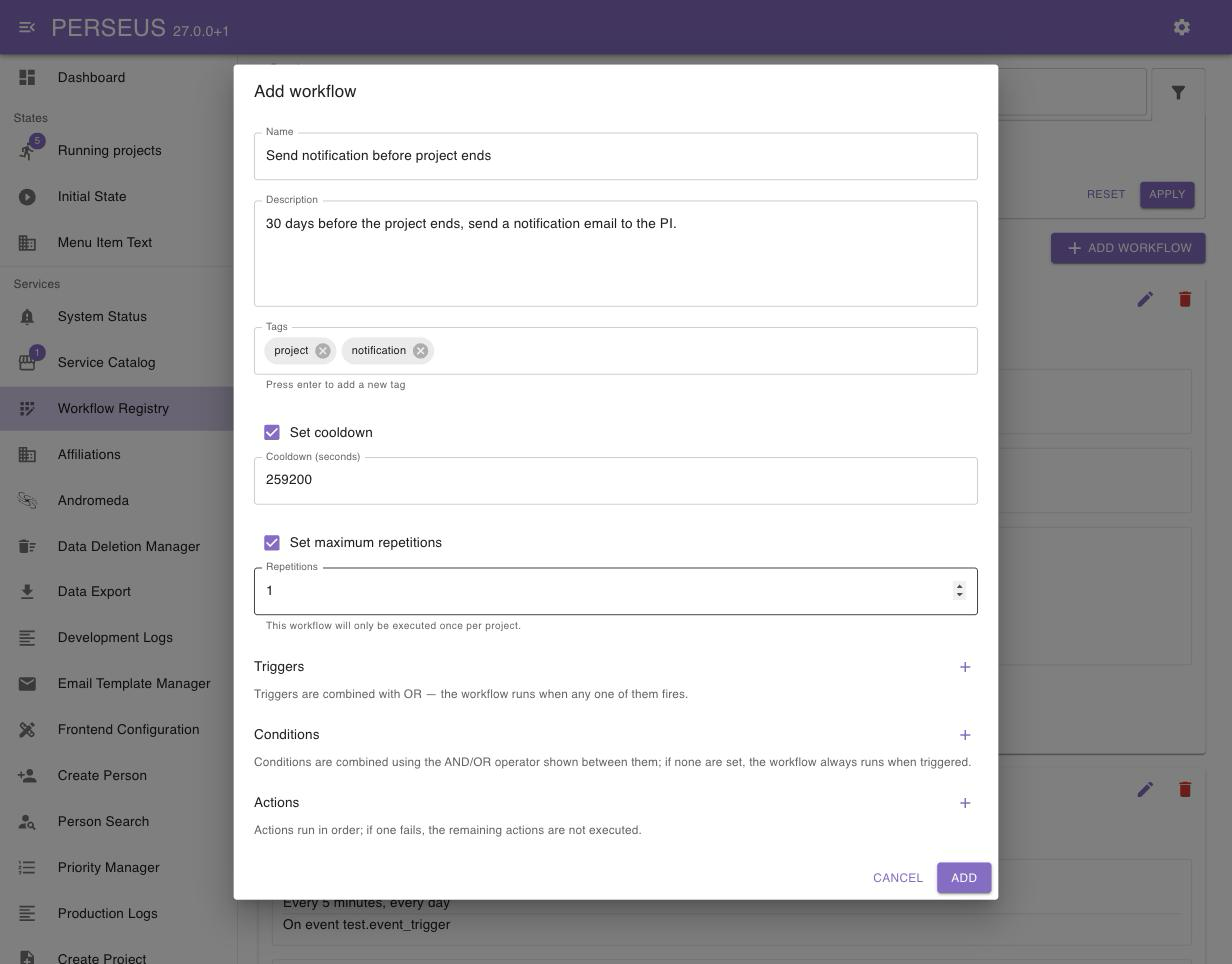
Below the main fields, the Triggers section lists the workflow’s triggers. Click the ”+” button to add one. Triggers are combined with OR — the workflow is checked as soon as any one of them fires.
In the trigger dialog, first choose a Trigger type:
0 * * * * for hourly).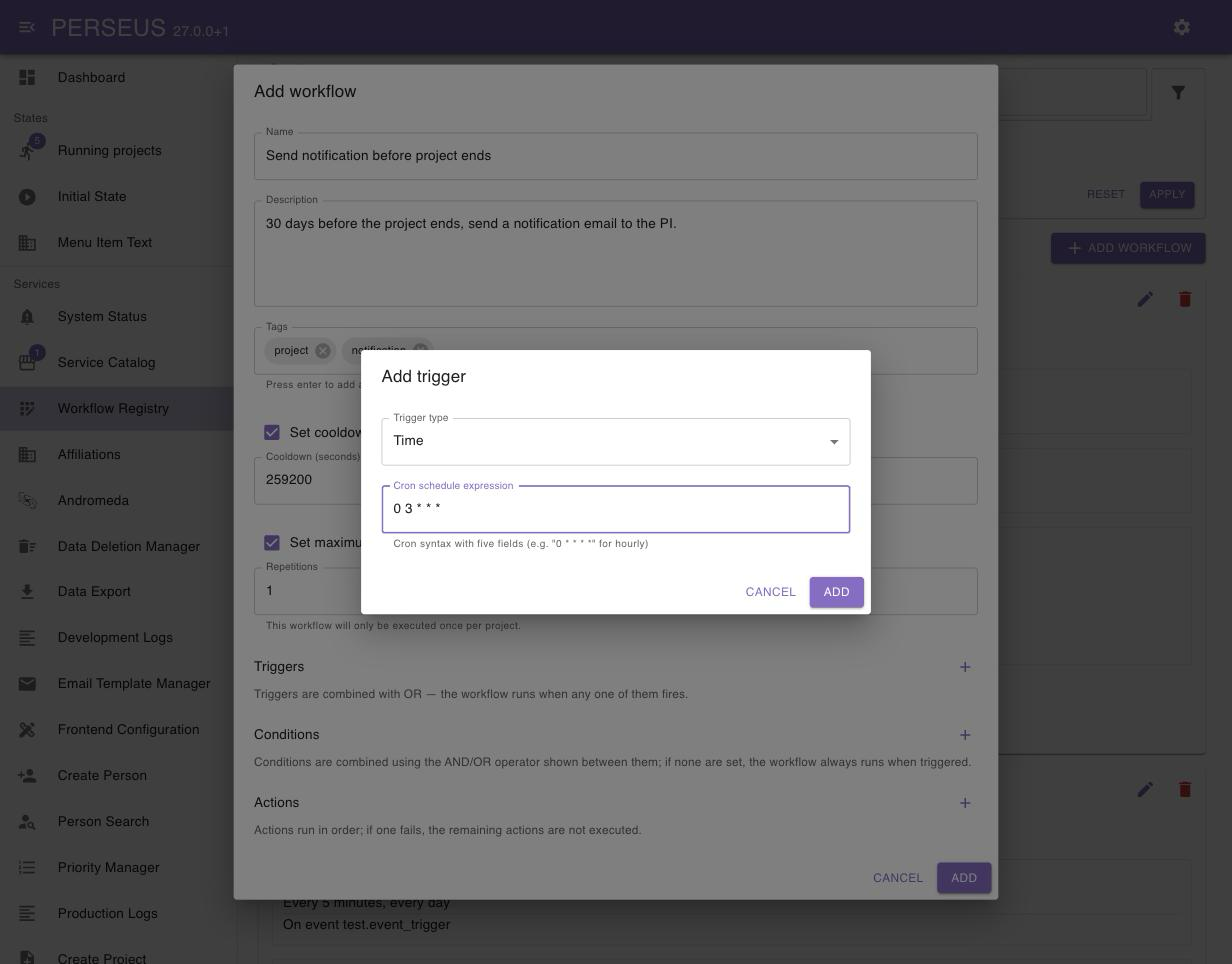
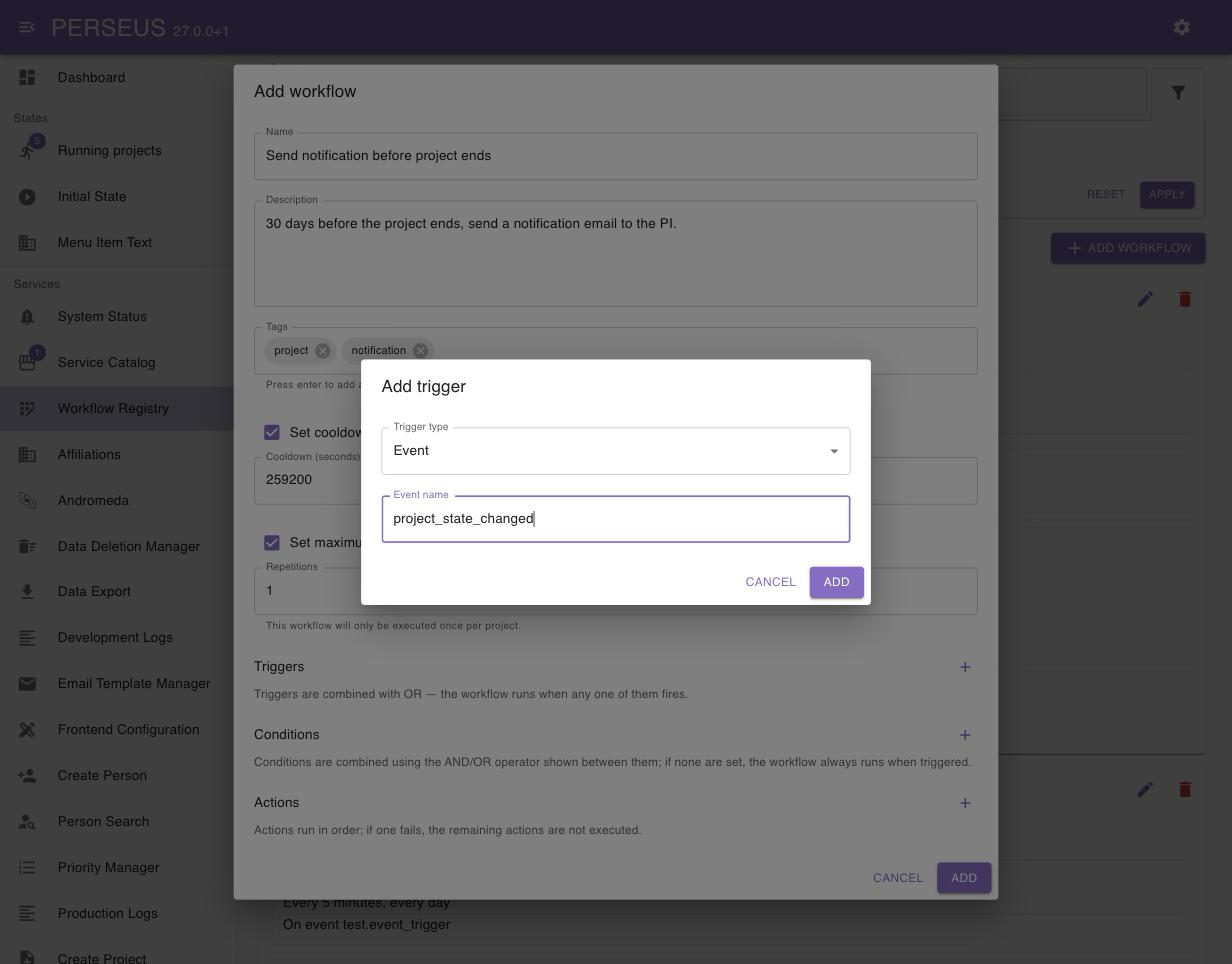
Existing triggers are listed with edit and delete buttons. Saving a trigger, condition, or action validates it immediately and shows an error in its dialog if it is invalid, instead of closing the dialog.
The Conditions section lists the workflow’s conditions, evaluated in order and combined with the AND/OR operator shown between them — see the conditions reference for the full expression syntax. A workflow without any conditions always runs once triggered.
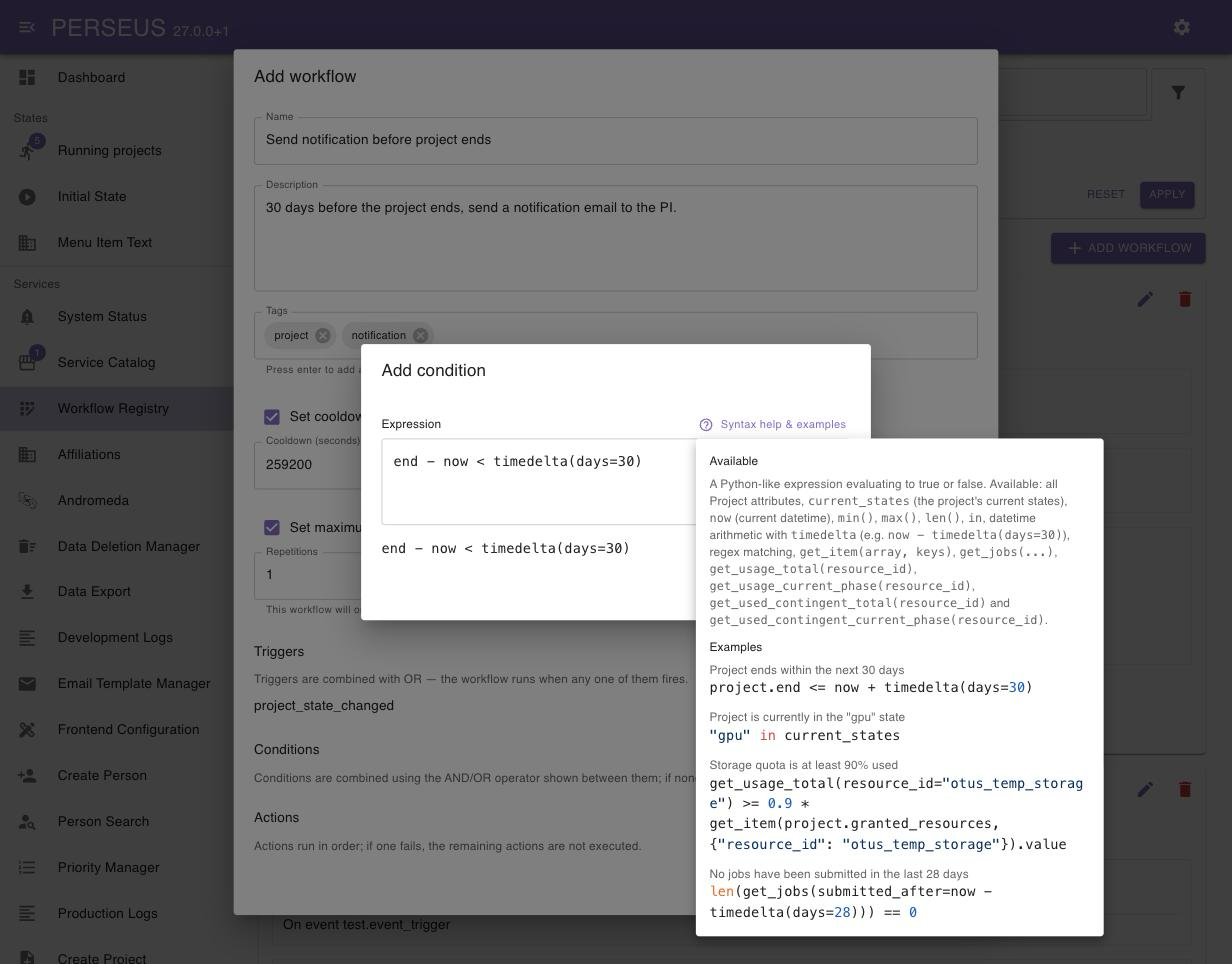
Click the ”+” button to add a condition. Enter the Expression in the multiline field; a syntax-highlighted preview of what you typed is shown below it as you type. Click the help icon next to the field for a quick reference of the available names, functions and a few worked examples.
Between two existing conditions, click the small AND/OR button to toggle how they are combined.
The Actions section lists the workflow’s actions. They run in the order shown; if one fails, the remaining actions are skipped. Click the ”+” button to add one and choose an Action type:
PI, PC, a person ID, or a literal email address), Subject, Content, and
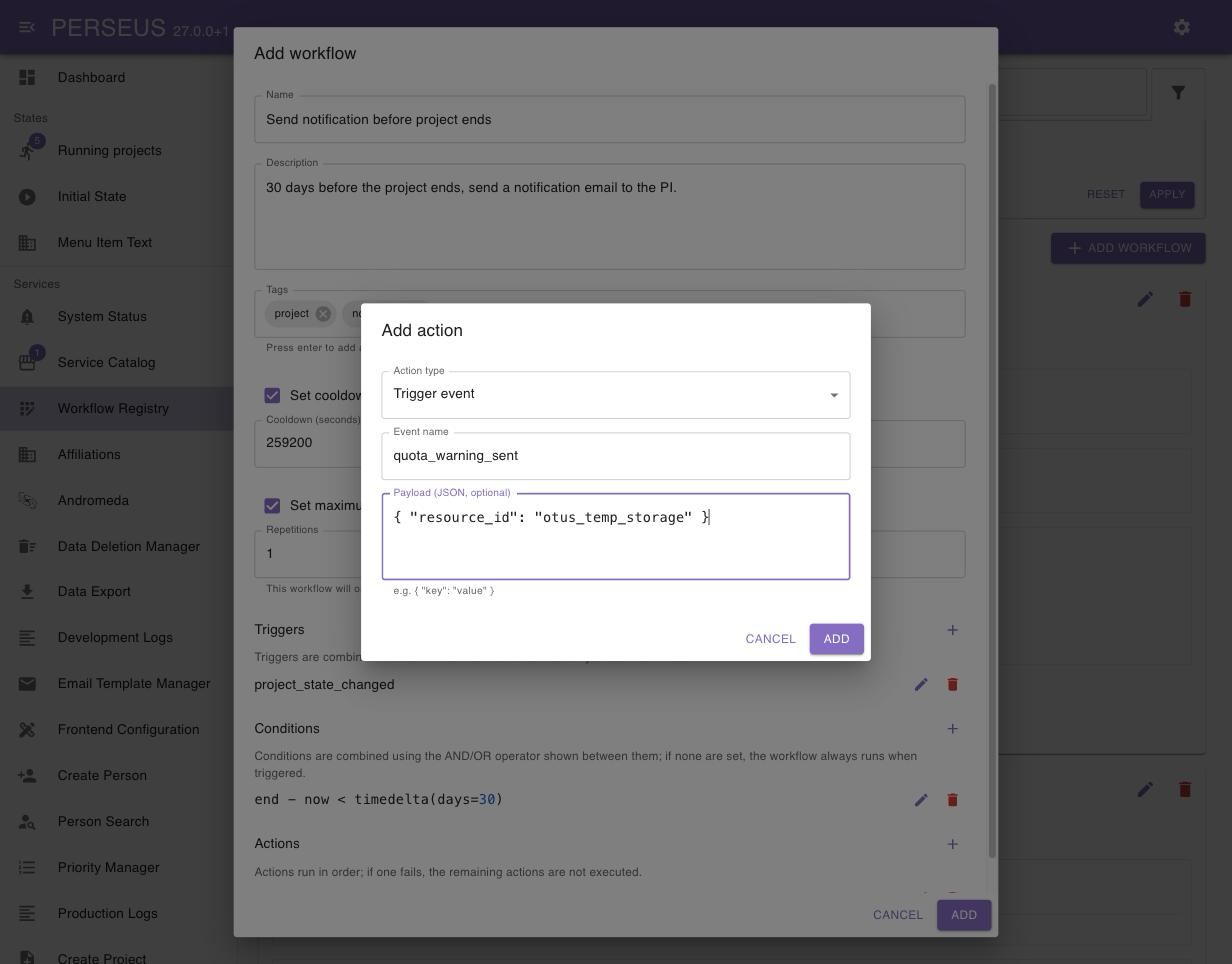
optional CTA button text/CTA button URL.{ "key": "value" }.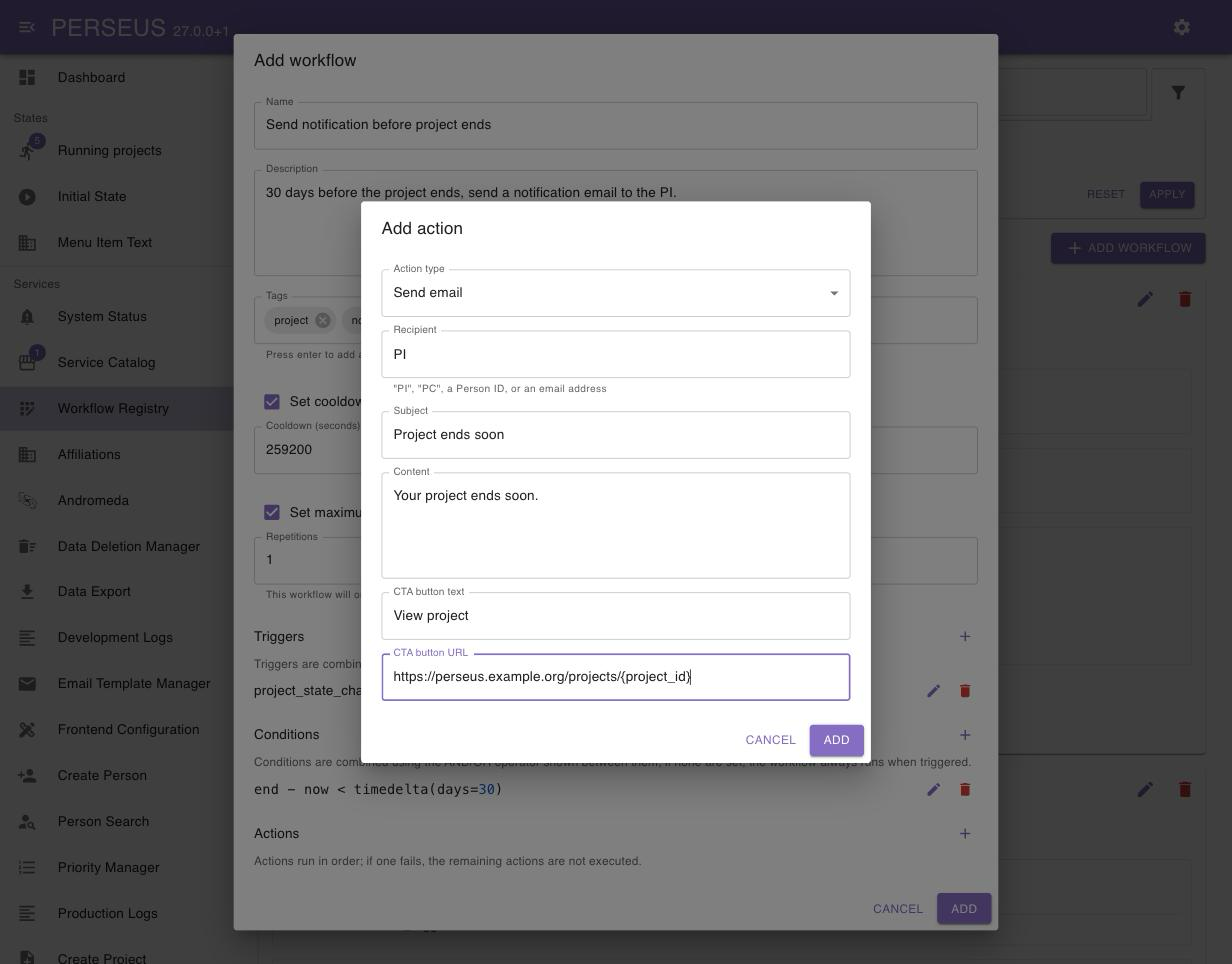
Once you are happy with the workflow, click Add (or Save when
editing). The workflow is validated as a whole before it is saved; any errors are shown in the dialog so you can fix
them without losing your input.
Click the pencil icon on a workflow’s card to reopen the dialog, prefilled with its current configuration. Change what you need and save.
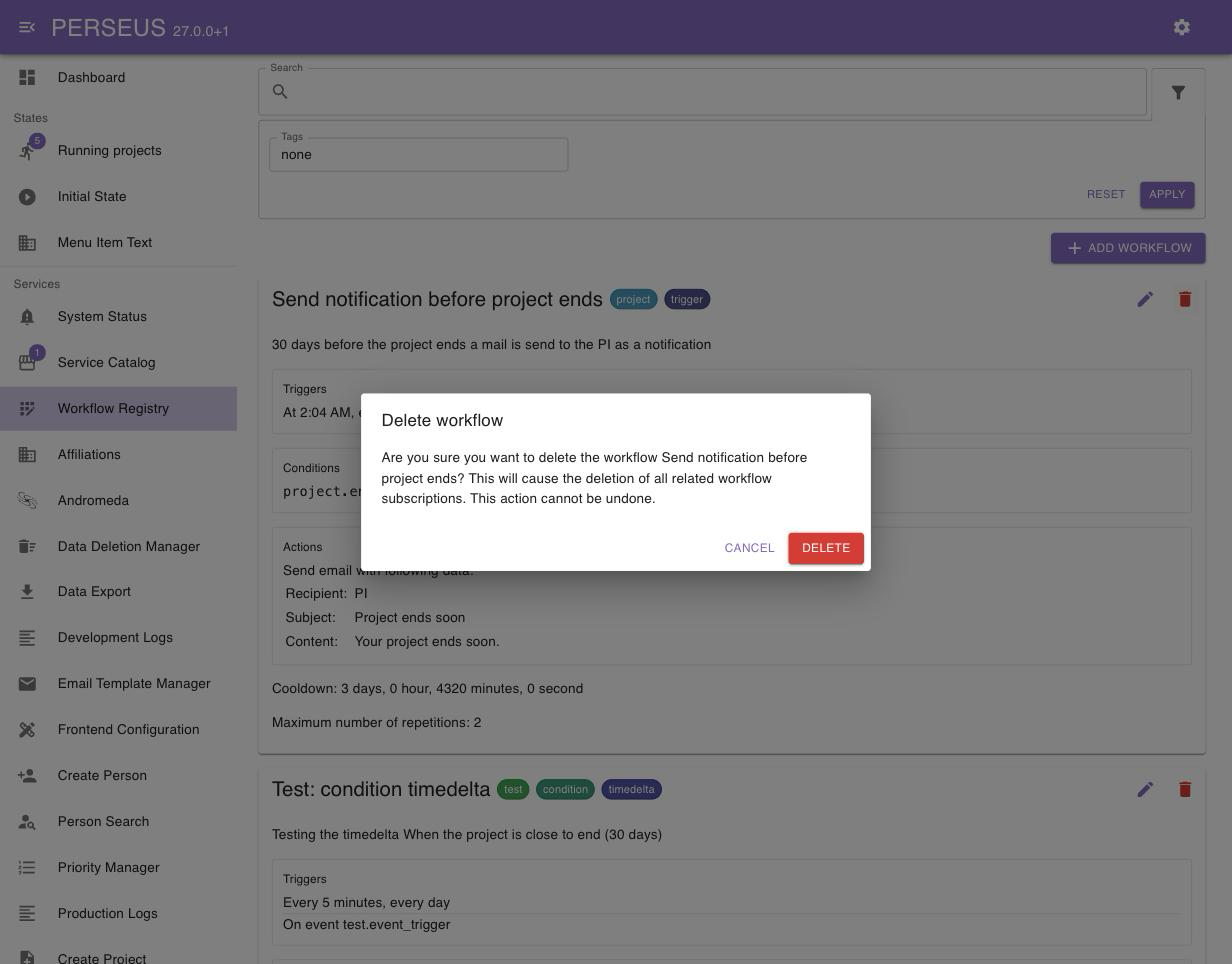
Click the trash icon on a workflow’s card. You will be asked to confirm:
Workflows, subscriptions and executions can also be managed via the WorkflowManager REST service, which supports the
same create, update, delete and verification operations as the UI. See
API usage for how to generate an API token and find the full endpoint
documentation for your installation.